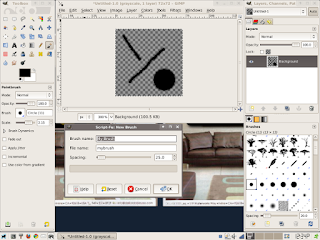
Make a new drawing, the size 72 x 72 (could be bigger, must be square).
Under Advanced options, set color to Grayscale (if you want brush to use whatever foreground color). Set the "Fill with" color to transparency. You should get this:

Draw on the transparent square, use shift + to make the image bigger.

Hang on it's not a brush yet. Select "ALL" from the select menu and from the Edit menu "COPY" instead of save (in the file menu). Now here is the magic: "Paste AS" from the Edit menu and "New Brush". The dialogue box should appear. Give it a brush name and a file name with extension (.gbr).

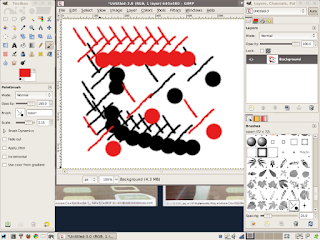
When you hit "OK" you have created a brush, the brush menu refreshes and your new brush appears and is ready to go.
 And if you wants to delete a brush, just right click and delete. If you delete it there is no getting it back.
Perhaps I am a little crude here but in time I will have all the finesse of a Hollywood movie. Hey did you hear the one about the painter who plucked his own beard to make his own brush. This is way easier than pulling hair. I read a GIMP Bible, watched a video tutorial, fiddled and condensed it into an experience. See, the Linuxville guide is into GIMPtitude and giving it to you.
No comments:
Post a Comment